Friday, December 30, 2011

Cannon Casting

I've been working on trying to cast a cannon on and off for a few months now.  Today, I cast one that looks nice, but unfortunately, didn't turn out hollow.  The steel pipe core filled with aluminum.


The resulting cannon.  It looks great, but wound up being solid!  Bummer.  I'll try again.  Stay tuned!

Monday, October 24, 2011

Inside An Air Regulator~ Because you don't trust the one on the compressor

Ah those magical devices!  They regulate your air feeding into some contraption.  Ever wonder how one works? You didn't want to take apart your $50 tool though, so you lived in ignorance.  Until now.

I have an air regulator.  I bought it for a quarter at a yard sale.  It worked great, but then started leaking along the gasket in the middle.  I figured I could fix it easy.


My Regulator hooked up.  

without screws

Big spring

That is the screw in the top that puts pressure on the screw.

Gasket thing.  It wasn't sealing against the metal well.
I puts some hylomar on it and that did the trick.

Button that is pressed on by the dimple in the piece above.

Input.  Unfortunately, you can't see the gizmos in there.  Not anything significant though

You are enlightened.  Remember, you heard it on Maniac Mecahnics first.

Thursday, October 20, 2011

My Cannon Pattern

I made this pattern on my lathe a few months ago.  Since then, I have given it several coats of polyurethane.


Eventually, it will be cast in brass or bronze, however until  then, I will practice casting it with the core with aluminum.
Here it is now.

Friday, October 14, 2011

A mortar pattern

Here are some pictures of a mortar pattern that I turned.  It's about 3 inches wide for perspective.

As you can see, one of my attempts wasn't to great.  At the time, my crucible was a bit undersized for this pour, but now I have a larger crucible to use with the big furnace.


 Split patterns are easy to mold.


Wednesday, October 12, 2011

New Videos of my projects are up!

I just uploaded this about 12 hours ago.  It shows my modifications to the bucket of my sand muller.  Be sure to check out my other videos in the bar above, or click here for my channel

Saturday, October 8, 2011

Back to the ol' drawing board...

I'm very often designing things.  Normal flat desks are sort of unsuited for this, so I built a desk-top drafting board.  It has a hinged lid for storage underneath.  My new (old) T-square is also pictured.  I put a piece of rounded molding at the base for a pencil stop.  Its very comfortable to use.


Friday, October 7, 2011

I tried making some brass a while back.  I didn't have any borax on hand at the time to use as flux, so a good amount of metal just oxidized.  The copper was from pipes and the zinc from wheel weights.  With all the strange oxidization, it was dumb luck that he metal turned out pretty.

Here's the ingot.  It weighs about three pounds if I had to guess.


Nice golden color.  I doubt I'll be able to duplicate it though!


The actual proportions that I was trying of are those of Admiralty brass.


Thursday, October 6, 2011

My Molding Bench

When I get the foundry going, I cast lots of things.  This means I'm making lots of molds.  Making them on the ground is tiresome.  I had been filling my flasks over a large plastic storage bin, but I was still on my knees.

Finding a heavy duty plastic box at a yard sale for $5, I though I could use it.  It would allow me to have more sand and would be closer to my ideal height.  I put it on some blocks to get it up higher.  Now its about waist height.  Good for molds.


I then went and made a wooden frame that sits inside on the tops of the plastic ribbing to support my flasks.

Here is the result.


I have yet to fill it with sand.  Eventually, I will mount my muller right next to it so the fresh sand goes right back into the box.  I may also make a divider for mulled sand on one side and dry sand to be remixed on the other.

Tuesday, October 4, 2011

My new anvil stand

I do some blacksmithing from time to time.  Mostly to make custom tools for my other projects, but having a good anvil to beat things on is a much needed item for anyone.  My anvil was originally sitting on some tree trunk sections as seen in many photos, but they started to rot. I didn't like them, so a new base that wouldn't rot was in order.

My materials included

3" angle
galvanized fence post tubing
1/4 steel rod
3" treated post

The angle iron was gifted to me a while back.  The fence post tubing was free as well.  The 1/4 steel rod was from a garden decoration, and the post was leftover from rebuilding our deck.

I stick welded the whole mess together.  Here's the result:


Note:  I have to level the ground still there.


A note to all who are planning to build a base for their anvil:  The face of the anvil should be at knuckle height when your arm hangs down.  Otherwise, you will strain your wrist while forging.  This allows for a full arm stroke of the hammer.

Sand Muller Gearbox.

The most complicated part of a sand muller is easily the gearbox.  Welding spouts onto buckets isn't hard, but getting gear to mesh can be tricky.  I found that with some clever positioning, I could fit a lawn mower gearbox into a garage door opener system.  The rpm is still a bit high, but it is usable.

The main shaft goes to the small gear.  It meshed with the larger gear, which is mounted to the shaft of a lawn mower gearbox.  The output shaft from the gearbox goes through the existing bearing from the door opener.  The gears and gear box all came from the same self propulsion drive on a rusted out mower.

Sunday, October 2, 2011

Furnace Shots!

I have buckets of pictures of my furnace, going from the first firing and progressing through later castings and such.  I may form blocks of photos, just so each page loads within the month.

The burner started

Overwiew

The preheat chamber for the evaporator burner

My whole foundry as it looked last year.

With the heat turned on.  Lets go easy at first!


Night shot!

Now its cooking!  The flame just shoots right in.  For comparison, this is relatively cool as far as melting goes.  I've had the furnace about 3x hotter.  We'll save those pictures for tomorrow!

Friday, September 30, 2011

Evaporator Burner Improvements

In my youtube videos, I show my evaporator burner.  Well, I've improved on the design and want to share.  I'll have a video of it up shortly as well.  Here's a google sketchup rendering for now.

The overall operation is the same.  the improvement is the "tuna can" shaped evaporator on the bottom.  It allows for greater surface area and heat transfer, allowing you to turn the oil up higher for the same temperature fire.  I have seen significantly reduced melt times with this burner configuration.  It also makes for more uniform operation as one cold spot in the fire will compromise the whole evaporator.

Friday, September 23, 2011

Some pictures of a dahlgren cannon, cast in aluminum.  I cast it solid, then drilled it out.


Saturday, September 17, 2011

Some quick pictures:  I had some welding practice scraps left over and needed another tray for extra aluminum when casting, so here's the result.


My Metal Casting Adventures

Its been a few years now since I stumbled across the art of melting and casting metal.  I'll attempt to put together a collection of photos to detail my progress.

The first true furnace with molten aluminum.  


I built another furnace that was a nice stepping stone out of the first, but I can't find pictures at the moment!

We will move on to my current big furnace.  Its made out of a hot water tank.

The tank:


Laying out the bricks:


Some measurements.  The tank is 18 inches wide.  


I was just learning to stick weld, so I put some handles on the sides to move it easier.  Good thinking.


 The tank had holes for taps and things in it so I used one as an eventual drain for the furnace.


Magnesium anode or cathode..I don't know, but its magnesium.  Fun Fun Fun....

The refractory I used to line the firebricks


Progress:  The bricks are all cut and chamfered to fit well.

Close up.  The bricks are out of an old ceramics kiln.  They are very insulating and worked quite well.

The furnace after casting the refractory.  The wood form was stuck int he bottom, so I just burned it out.

Completed furnace.  Isn't she a beauty?  the lid looks nasty because I just reused it from that previous furnace (the one without pictures).


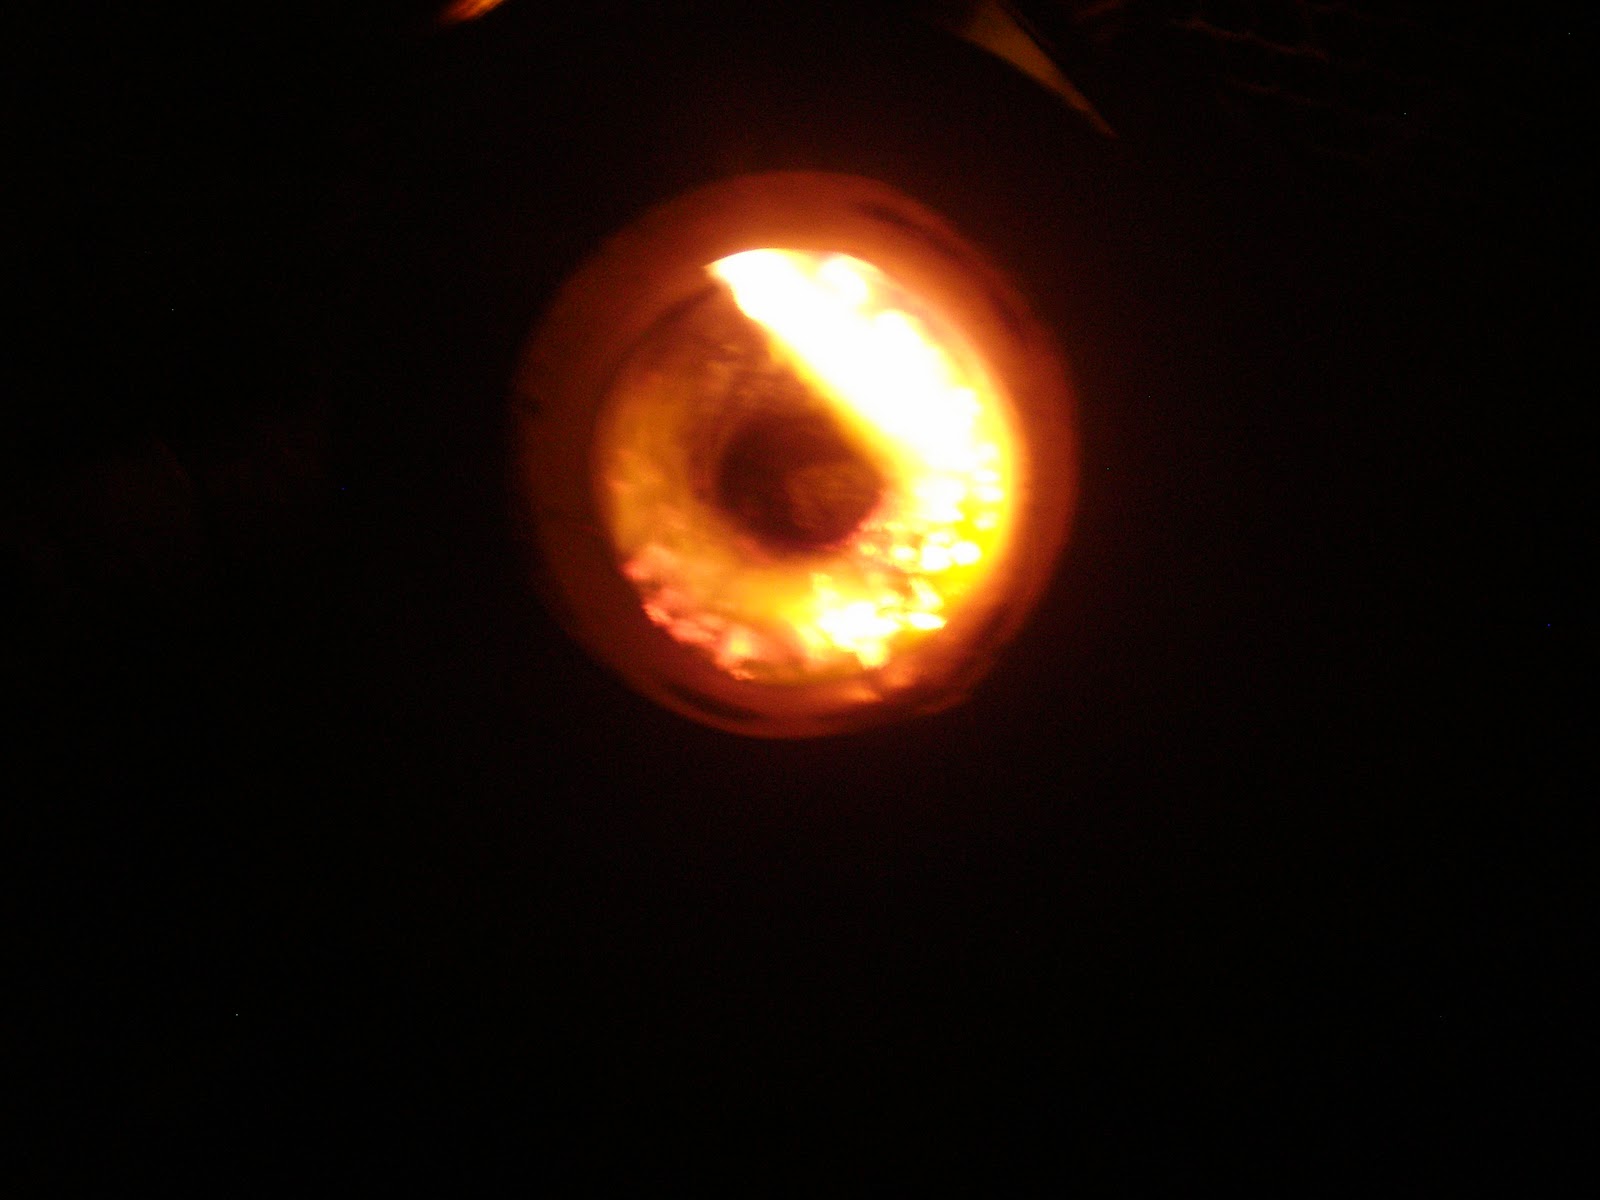
 An inside shot with my tiny crucible. I have since bought a much larger crucible.

Thats that!  the furnace is done!  I'll have more posts with the first firing, my burner and castings soon!